

Let’s be frank; we all have a big reason to stay ‘here’ right now, and it’s COVID. But if you’ve nailed your banana bread and done all the exercise classes you could shake a walking stick at, how about having a go with resin?
Resin is a clear, fast-drying substance that can be used to make a number of crafts. It’s cheap and easy to order in the post and really easy to use. I chose moulds for the purpose of crafting jewellery, but there is a wide selection available – including fancy resin coasters I saw recently and now covet.
Obviously resin alone does not jewellery make – even with some hipster minimalist glasses on. So glitter is a good start, as are things that set in resin. We went au-naturel with berries, leaves etc. We also raided the piggy bank for a few shiny coins.
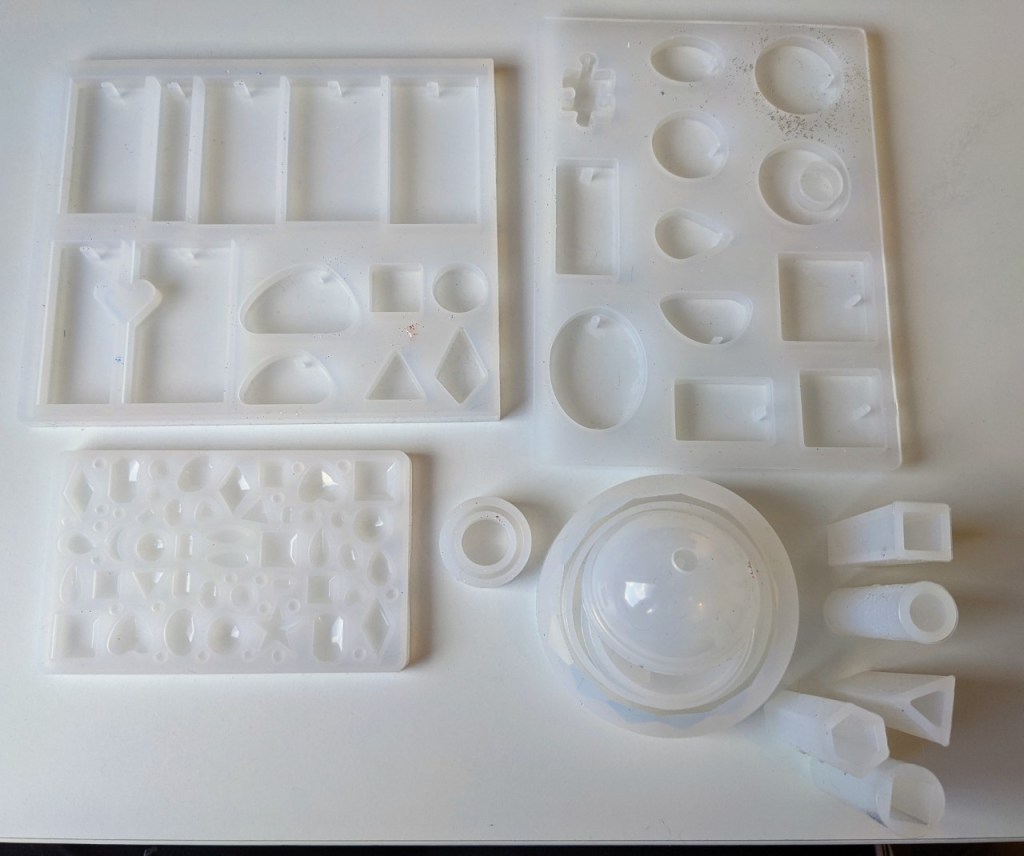
Various moulds from pendants to rings 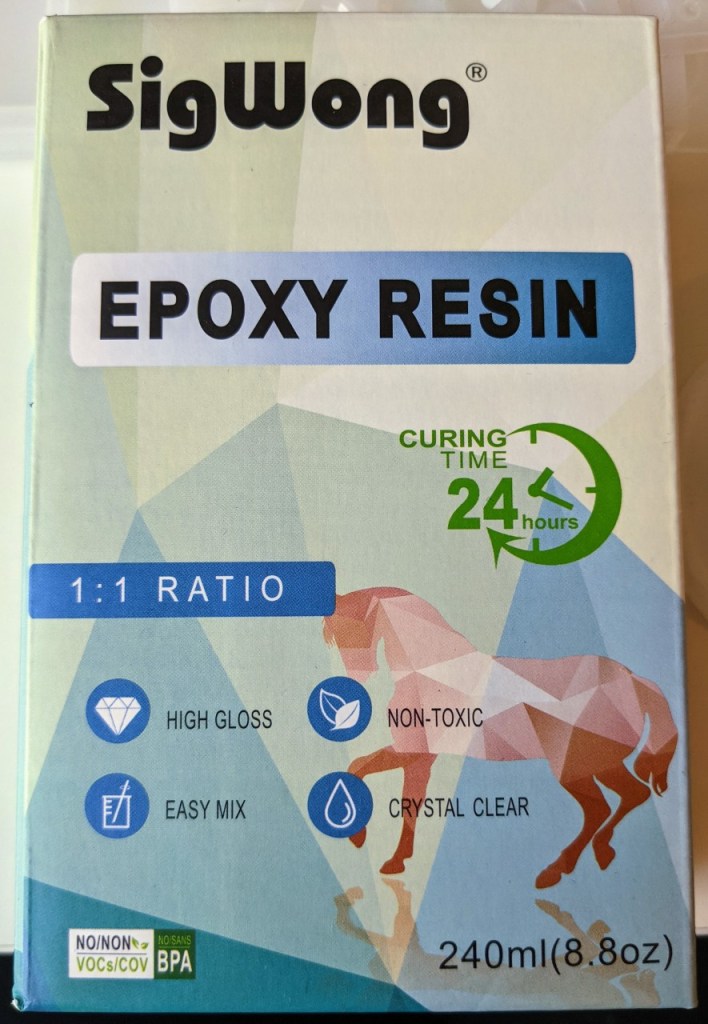
Epoxy resin 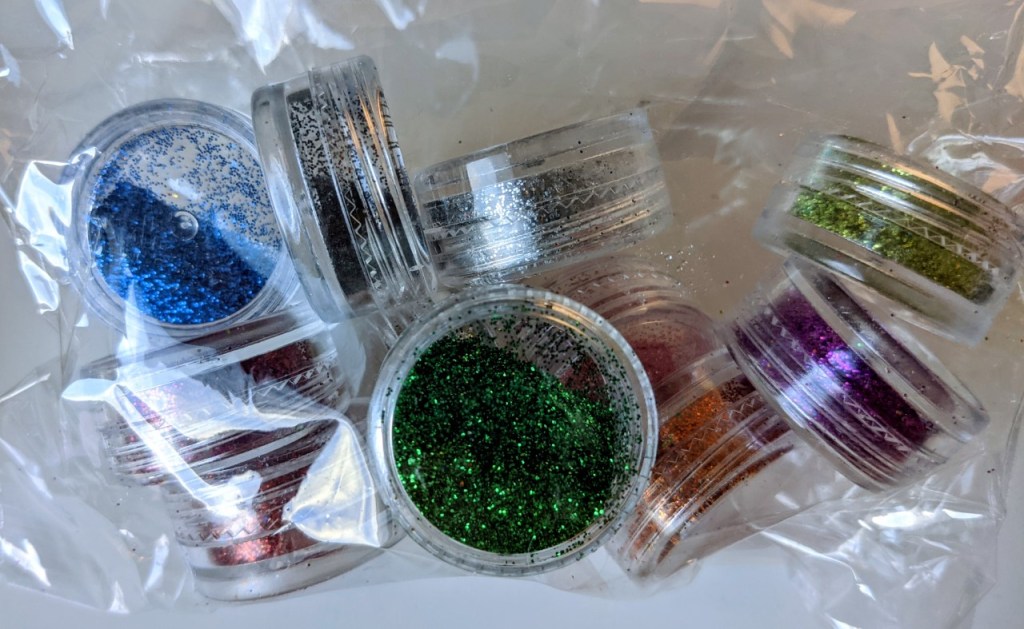
Coloured glitter pack
Other ideas I found online included flowers, material and, rather obscurely, teeth…
Once you’ve collected your additions, open your kit and read the instructions. Before starting put the gloves on and try to avoid getting any of the stuff on you or things you care about. The epoxy pack comes with two bottles of fluid; the resin itself and the hardener. The ratio may be different for different brands so please follow your own instructions, but mine required a mix of 1:1, and then I had around 40mins before the stuff sets like see-through concrete.
Below are the combinations I had a play with; glitter, just foliage and a mix of both. I actually prefer the clear ones although this format is less forgiving regarding any air bubbles or finger prints that may creep in.
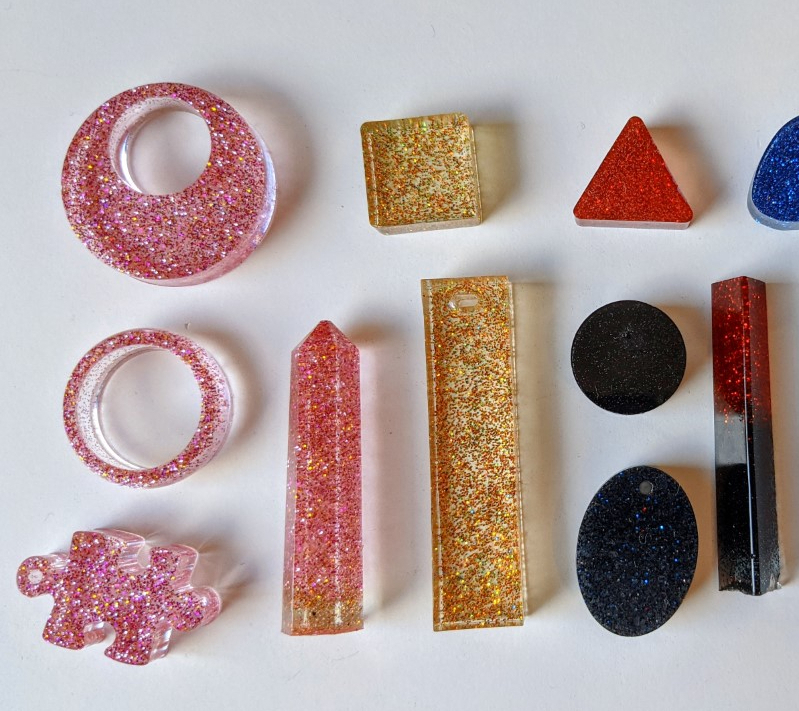
+ Glitter 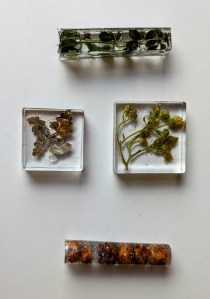
+ Miscellaneous items 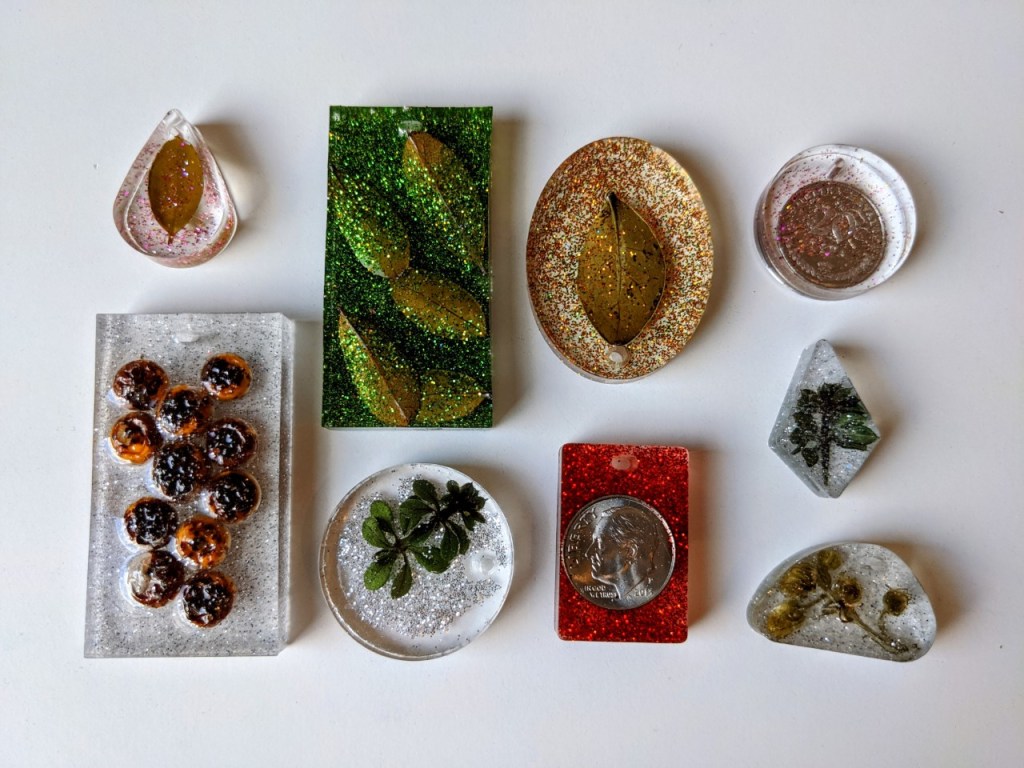
Both glitter + miscellaneous items
Patience is required when adding your extra bits. Anything solid will sink to the bottom. Items like glitter and leaves will gradually float to the top. So if you wanted to add a coin or similar, and want it neatly in the middle and fully covered, you should pour in half of the resin and leave this for an hour so it starts to harden. Then pop in your heavier item, then top up with remaining resin to dry completely. For leaves and glitter which float, add them to the first layer before drying, then again pour more resin after an hour or so when it’s become a bit more solid to ensure these ‘float delicately’ in the centre.
Once you’ve finished all your jewellery, leave somewhere out of the way for 24-48 hours to dry completely. I found that after 24 hours some of the thicker pillars where still slightly bendy so gave these a few more hours.
Then simply roll them out of the moulds and they are ready to add to your favourite twine/chain/key ring for immediate use or gifting. My moulds offered handy holes to prevent drilling, but the bigger pendant items would require this.
The best thing is, it’s cheap and easy and the moulds can be re-used. So if you aren’t wild about the first batch just give it another go. These are the items I purchased from Amazon, but you’ll find many options across the WWW.
Epoxy resin kit – £15.99
The mould set I chose for various jewellery types – £10.99
